Glad You Stopped By

By day I am a marketing professional for small businesses. I love to find and re-purpose forgotten objects, furniture and household items, turning them into usable stuff. I find interesting items at tag sales, flea markets and sometimes even thrown away along the side of the road. If I can find a use for something, I'll pick it up if it's the right price.

Tuesday, August 14, 2012

Telephone Stand or iPhone Charger Station

This little telephone stand is the second piece I purchased on a recent trip to The Trading Post in Amherst, MA.  If you've never seen a telephone stand, imagine the old black dial up phone sitting on top and a stack of phone books stacked in the cubby below. 

 
The stand was painted brown and it was hard to see what kind of top I'd find after stripping it.  The back side featured a small cut-out in the cubby for cords. After stripping, I discovered that the top was a veneer. Oh well.  That's what makes "picking" fun!

 I decided to apply a light stain, repaint the base and call it a day.


Unfortunately, when my daughter arrived home to see the table, she asked if it would be too much trouble to paint the whole thing glossy white to go with her country cottage look. Sigh.

Here's the finished piece, ready to use as a night stand, perfect for an iPhone/iPad/Kindle charging station. Purchased for $15.00. Not bad.

Monday, August 13, 2012

Shabby Chic End Table

I paid a visit to The Trading Post in Amherst, MA recently looking for end tables.  This cute little pine piece was very sturdy.  It actually looks pretty good in the "before" picture, but was showing signs of its former use.


I applied a little stripper to the top and the drawer to see what condition the wood was in beneath all the paint.


The paint came off easily (only one coat!) revealing a honey-colored top which I decided to retain.
Because I wanted the "shabby chic" look, I did not strip and sand the edges all the way, leaving tell-tale signs of the former white paint exposed.

 A light maple varnish was applied, followed by one coat of polyurethane.

A fresh coat of glossy white paint was applied to the cabinet base and knob - and the table is now ready for its new home!

The end table was purchased for $20.00 - a bit more than I normally would pay, but Louise (The Trading Post proprietress extraordinaire) explained that August is a busy time of year when Five College Area students (Umass, Hampshire College, Smith College, Amherst College and Mt. Holyoke College) descend upon them looking for good apartment furniture. The law of supply and demand applies, making it difficult to negotiate a lower price. I still think this little piece was well worth the price and the fact that it took little time and resources to perk it up was an added benefit.

Tuesday, August 7, 2012

Shabby Chic Cottage Coffee Table

I was looking for a new refinishing project this summer and found this coffee table at a beach association tag sale in Old Saybrook, CT. It had been hauled out of the shed and used to showcase items for the sale.  As I moved things off the top of the table to investigate further, the original owner of the cottage, a small woman in her late 80's, began chatting with me as her grandson ran the tag sale.
 
She shared the history of the little table, telling me that it had been crafted by her husband out of some leftover floorboards used when the cottage was built back in the 40's.  The top boards were a little loose but the base was solid as a rock.  Covered with gray chipping paint, it was hard to tell what would reveal itself when stripped, but that's half the fun.

The underside of the table showed bare wood, rusted brackets and zig-zag fasteners (brads?).  After a little haggling, I purchased the table for $10.

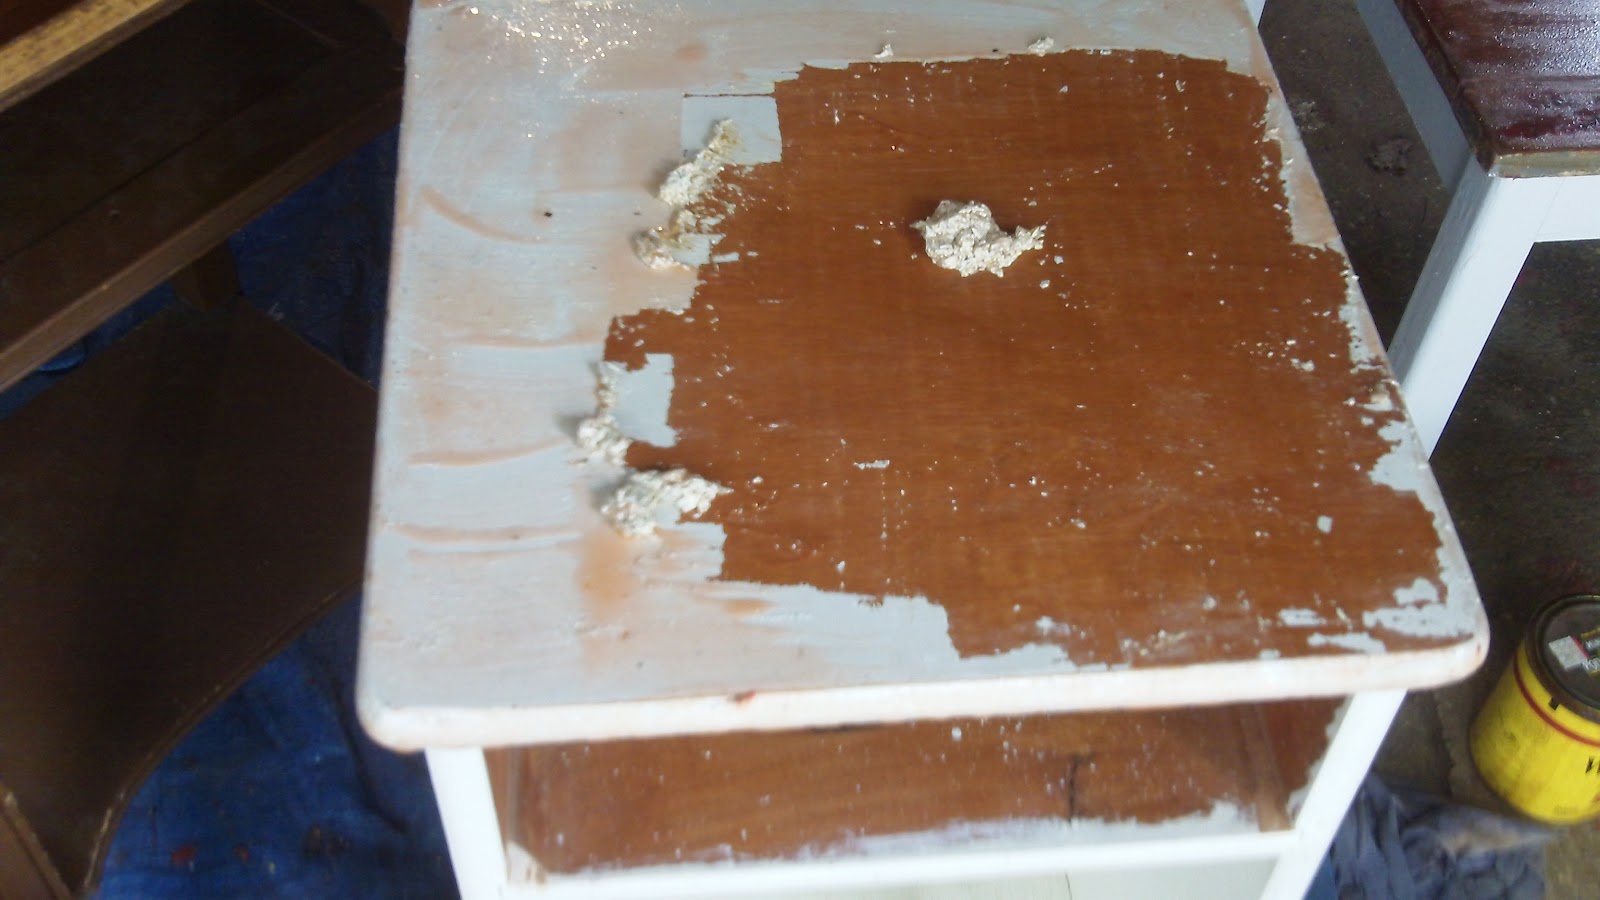
After applying Citristrip stripping gel and waiting a couple of hours the gray paint began to blister nicely and was easily removed, revealing a glimpse of the red paint and also a layer of creamy yellow paint.

I applied a second coat of stripper to remove the yellow paint which transformed my little table into a very red art project.  The third coat of stripper was somewhat effective, but the red paint had definitely seeped into the grain of the wood.
 The scraper was able to remove more of the paint and I began to see some of the imperfections which added character to the table top.
 I used my sander and 3M stripping paper to remove just enough of the red pain, keeping the scrapes and dings intact.
 I chose a maple stain to enhance the red paint.  I applied two coats. You can see a bit of the before and after here.
 The legs and sides were painted using a white gloss latex and I left the edge of the table kind of rustic, exposing some of each layer of paint.  This gave it the true shabby chic look I was after.

The last step was to apply two coats of Glidden polyurethane for durability as the table will most likely travel with my older daughter who will be moving into her first apartment very soon.  She loves cottage style furniture and decided this would be a great living room coffee table.


The finished project!  Sorry about the picture - don't know why it came out blurry.